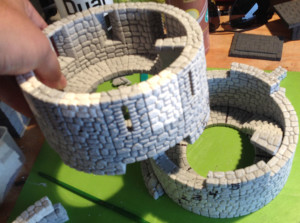
I decided to start working on the 6″ round filedstone tower again. I am using Hirst Arts Fantasy Architecture Inc.”Castlemolds®” Mold #73 and Merlin’s Magic Dental Stone. I use Aleene’s Tacky Glue to glue the pieces together.
Supply List:
1. Aleene’s Tacky Glue
2. Mold #73
3. Merlin’s Magic Dental Stone
4.
5.
If you follow the building instructions that Bruce Hirst provides, the tower can be configured to come apart for painting and gameplay. He went through a lot of trouble to create the instructions and they are free to download from his website. There are even building plans that can be downloaded here. You’ll want to print this out when you begin your project.
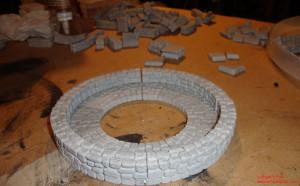
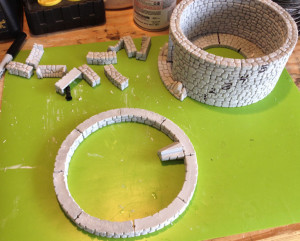
The pieces under the Sharpie X (left side) are not glued. These are used to help align other pieces to complete the circle.
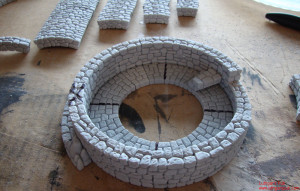
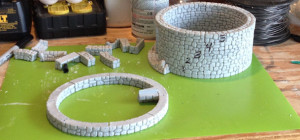
It’s a good idea to number the rows as you go. This way you want skip a step and get everything out of order. I use a black Sharpie for this and the ink wi will be covered when the tower is painted. The following pictures are of row 6. I had not added the floor pieces at this point.
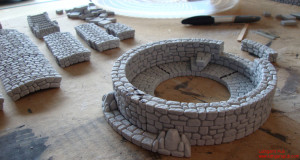
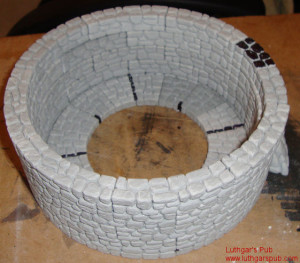
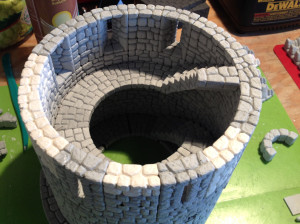
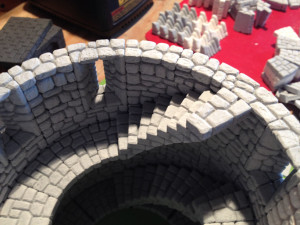
The next three pictures illustrate the tower though row 10, including the arrow slits. The white pieces were created using the white Merlin’s Magic dental stone.
The last picture illustrates how the tower can be taken apart for gaming/painting.
When I get finished I will weigh the tower to see how heavy it is. The dental stone can get pretty heavy for larger projects.
TO DO:
Finish top few levels
Paint


